Spring 2020 One Room Challenge - Weeks 5 & 6: building code & Brick
/Two weeks left. That’s it! Only two weeks left in the Better Homes & Gardens One Room Challenge and while we’ve done A LOT throughout the challenge so far in Week 1, Week 2, Week 3 and Week 4 there is still so much to do. Over the past two weeks we really started to see the laundry room come together, completing a few key projects:
moving the dryer vent so it’s hidden from view
installing the faux brick panelling
painting the room and shaker peg shelves
patching the uneven concrete floor
plumbing for the sink
I was feeling pretty good with all of our design decisions and super organized, arranging for trades to come in on consecutive days once our provincial COVID19 restrictions were lifted. My brother Paul came in as a consultant and also to take care of a few things that Grant and I weren’t able to (or really shouldn’t) do ourselves like trimming and installing our antique door, undermount granite sink, flooring and faux brick panelling.

My brother & Contractor Paul of Brancon
Our plumber came next and in less than 2 hours dropped the water taps behind the machines, ran a line from the main water line behind the washing machine and created a sink hook up which was amazing.

Everything was running so smoothly … maybe a little too smoothly, almost as if it was too good to be true …
Well remember that age-old saying that “If something seems to good to be true it probably is?” Our electrician came the very next day to see what would be involved in moving the dryer plug to behind the machines just as we did with the water taps and dryer vent. He took one look at the the sink plumbing and said “Ohhhhh …” and explained that we had a building code violation with our electrical panel.
Electrical Panel Building Code
Our Ontario Building Code states that for electrical panel access there must be “a space that is at least 1 m in depth in front of the panel and at least 1 m in width or the width of the panelboard, whichever is greater”.

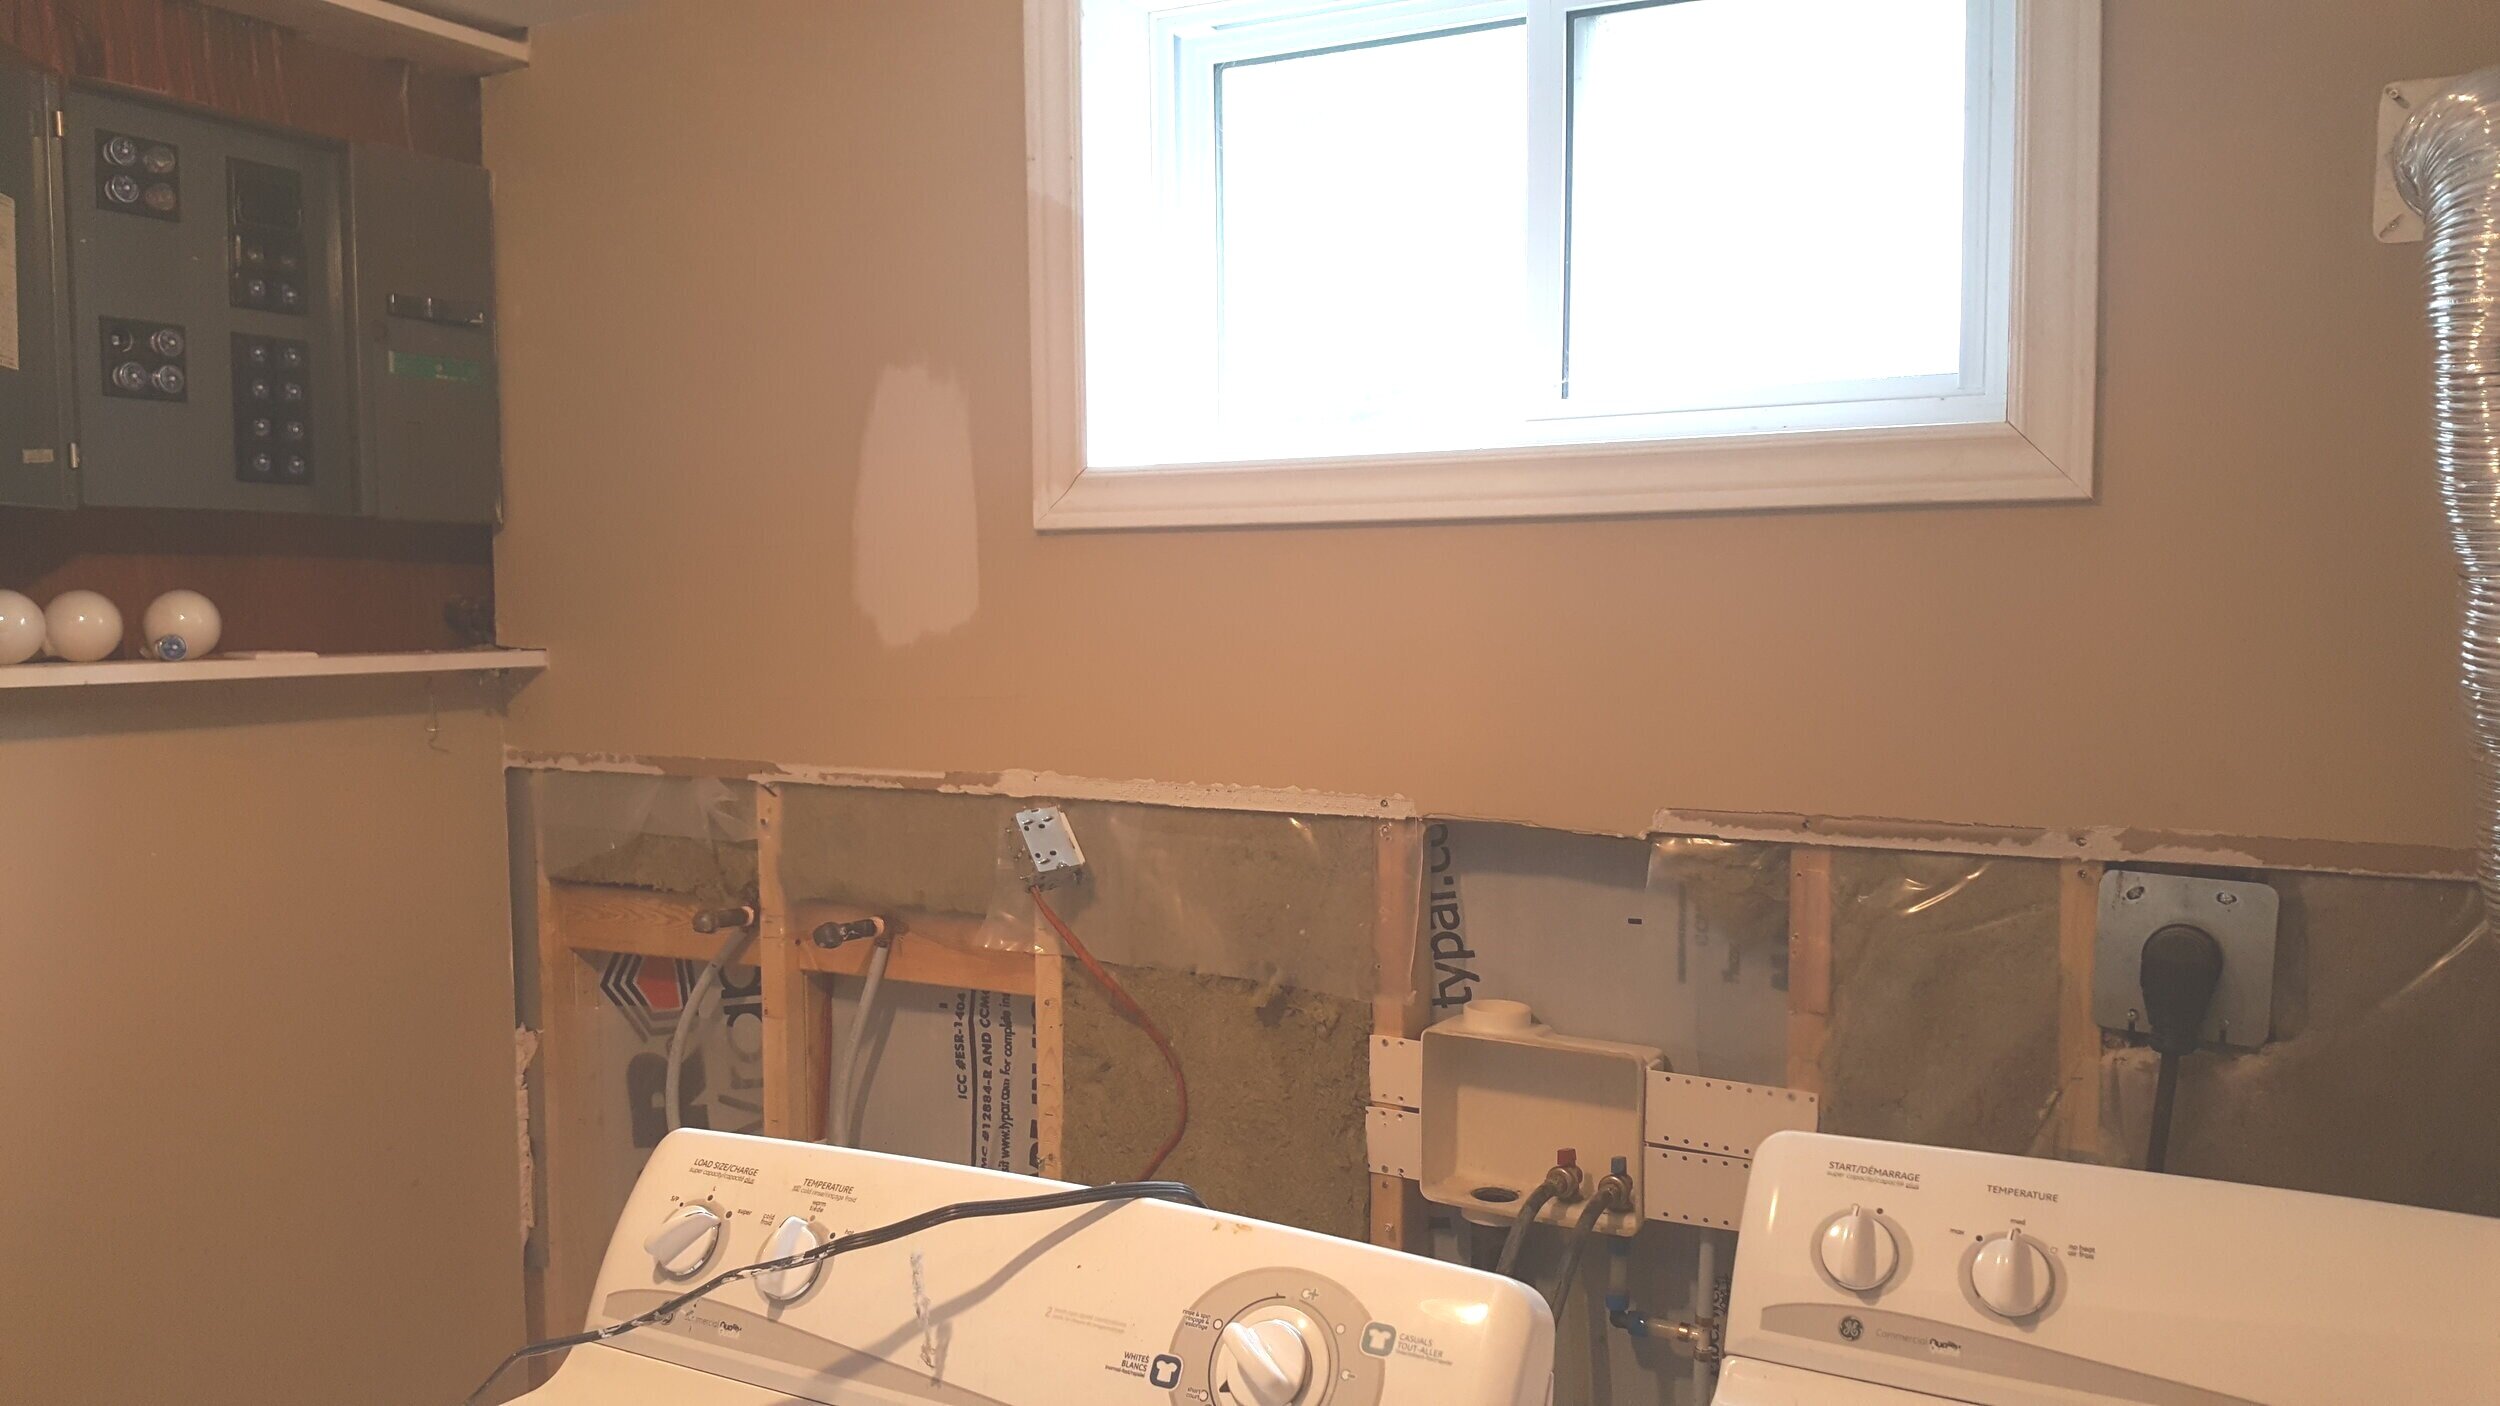
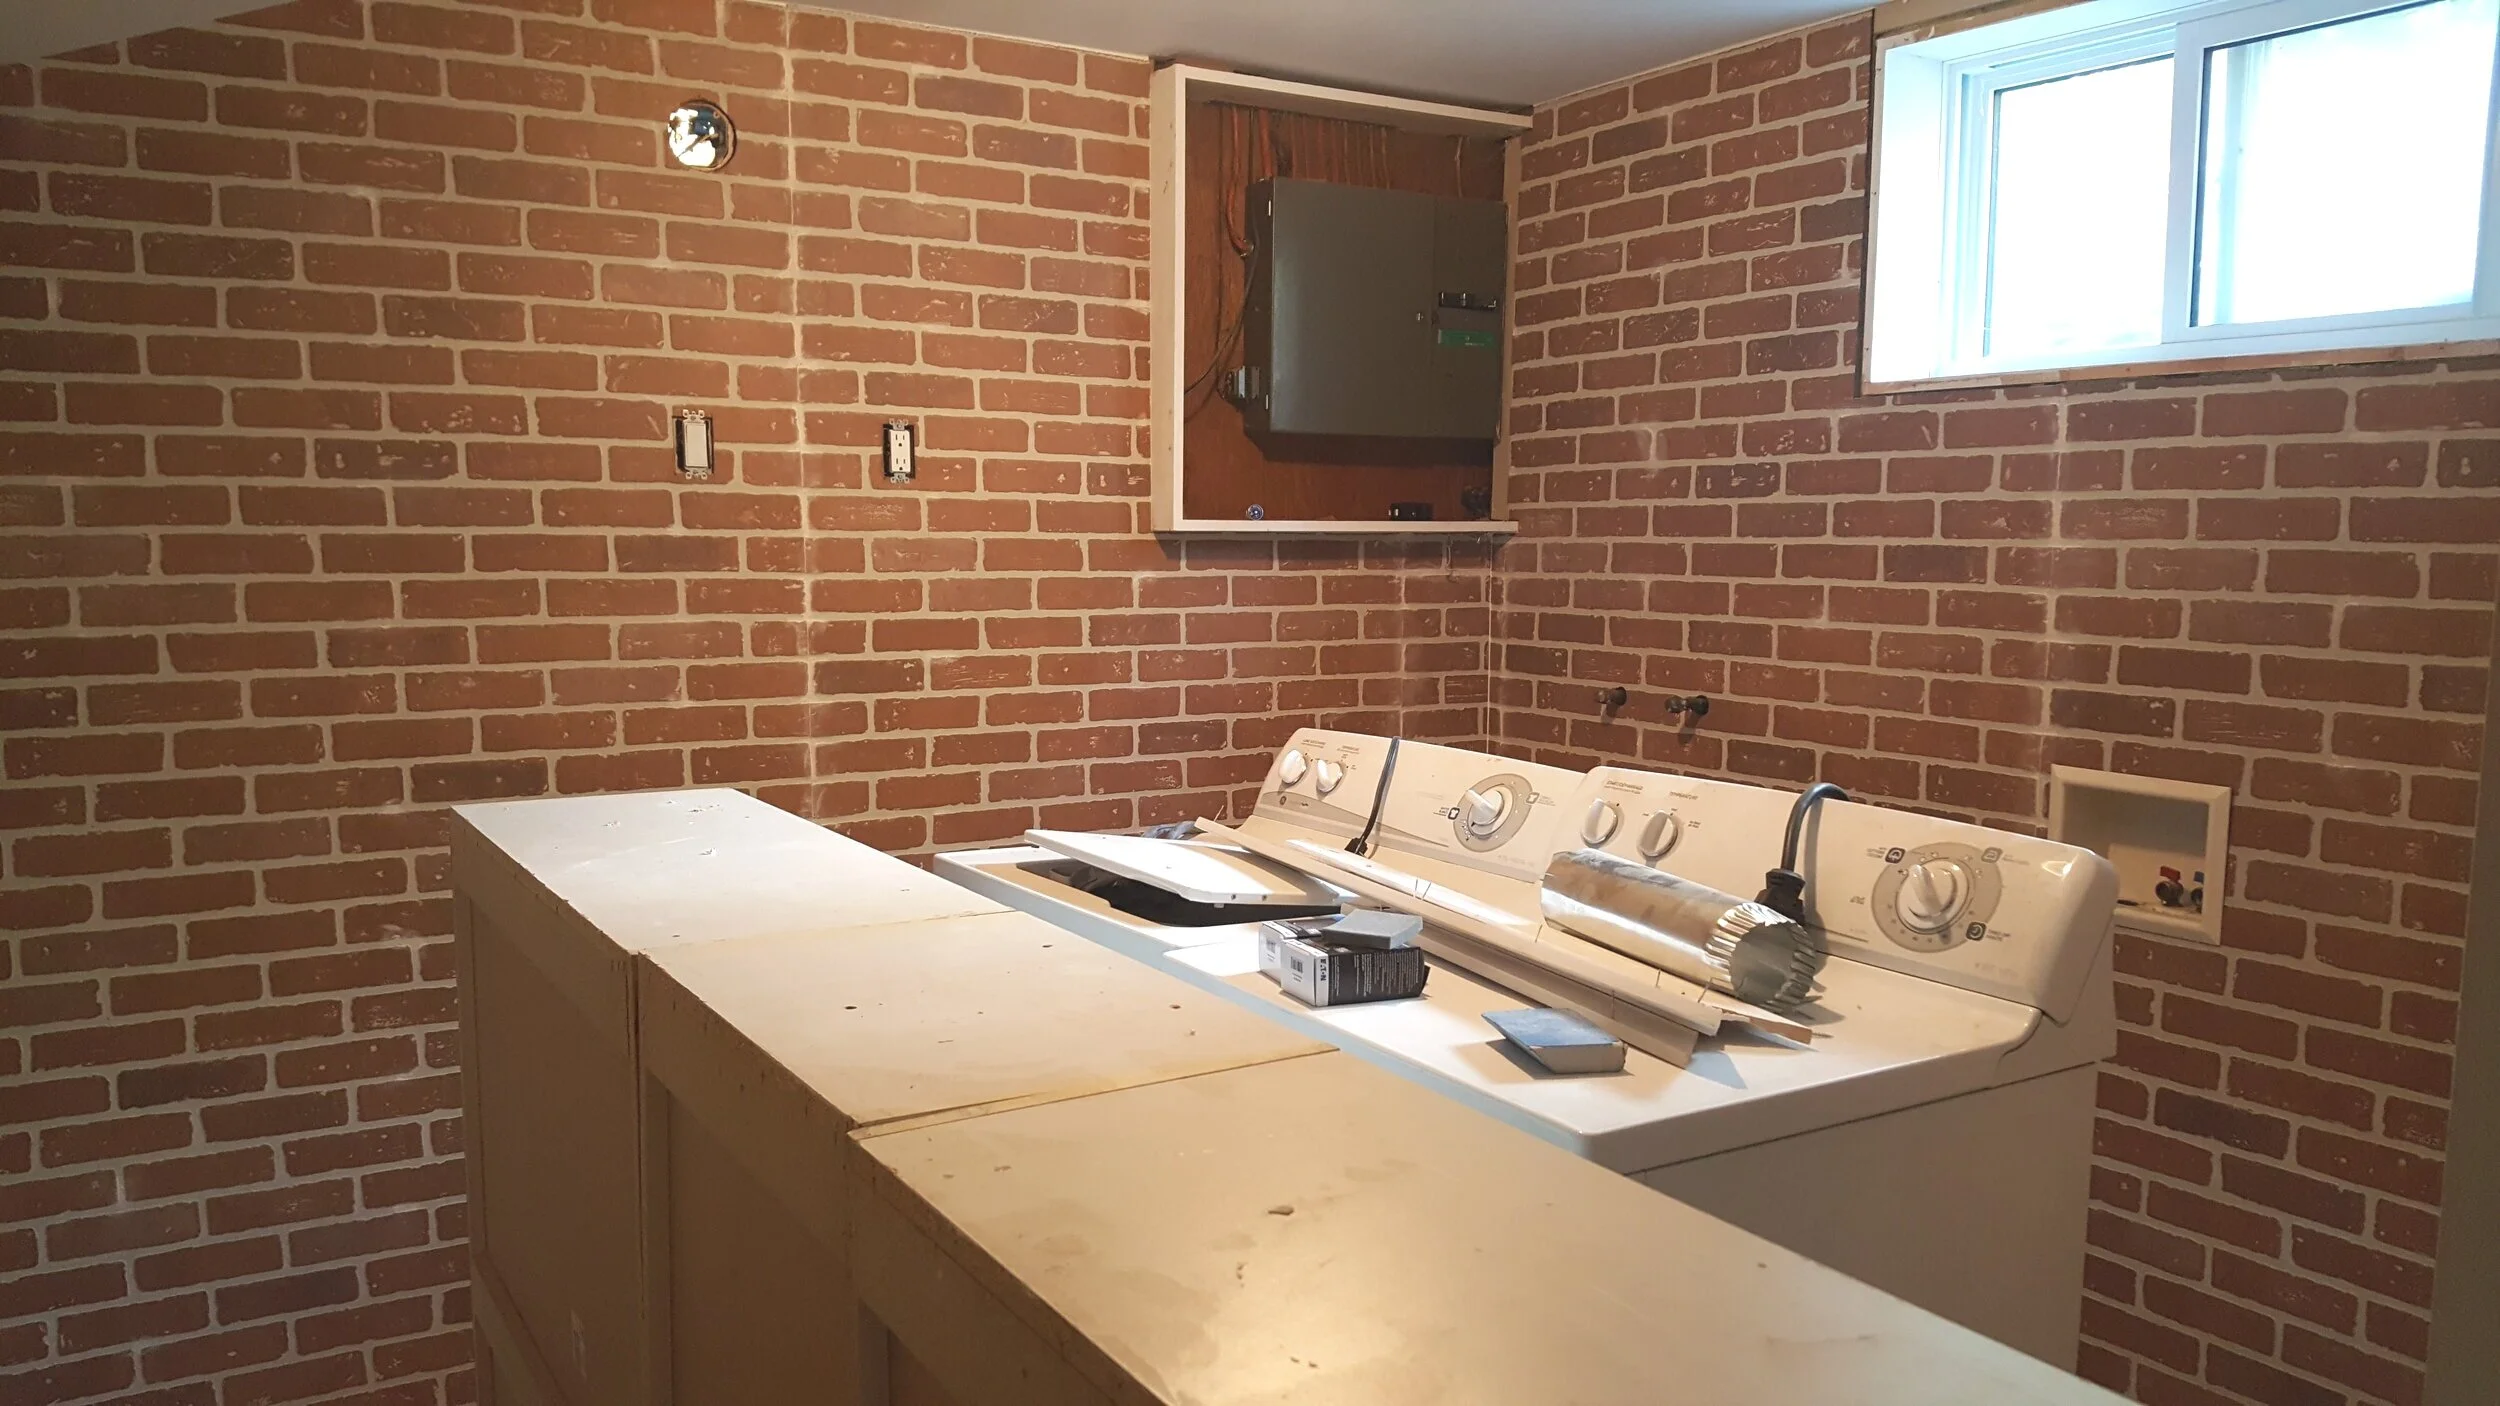
In comparing the Ontario Building Code diagram with our brand new plumbing in close proximity to our electrical panel pictured above, we are definitely in violation. Ooopsie!
I remember seeing so many space saving and creative solutions in the past for this exact scenario. This one from Sarah Richardson Design has been burned in my memory for years from her very first Sarah’s House project. I thought it was a brilliant solution to hide the electrical panel behind a framed picture on hinges above the washing machine. But … as it turns out, this too violates the building code. Maybe the code was more forgiving back then?

So what is a girl to do? Our electrician recommended to leave the electrical as-is and said we had a few options:
remove the plumbing and pretend the idea of a sink never existed
go ahead with our plans knowing that when we sell the house one day it will not meet code in a building safety inspection and we will need to remove it
try and reconfigure the space and put the sink on the other side
Grant, Paul and I weighed the pros and cons and decided to follow our electrician’s advice and leave the electrical (dryer plug) where it was. We’re also moving forward with our plans with the sink and will enjoy it for a good five years prior to removing it and selling. I will be more than happy to bring our Kingston Brass wall mount faucet with us anyways ;)
Faux Brick
I have always loved the look of painted brick and installed a faux brick panelling around our basement fireplace because real stone and brick can be expensive and this is not our forever home.


We used the same material in the laundry room but just on the exterior walls of the room so when painted it would look like it could have always been there.


Grant was a little worried that it would look really cheap and it definitely could have if we left it as-is. I thought about maybe using a German Schmear application but in the end decided to go with my initial plan and paint it Benjamin Moore’s “Pinky Swear”.


shaker peg shelves painted the same colour as the walls - benjamin moore’s “Pinky swear”
Flooring
So technically the flooring install happened today during the start of Week 7 but since I’m writing this post a day later than usual I wanted to share! The basement concrete floor was pretty uneven and we needed to do some serious patching. Not wanting to spend the time nor the expense on tiling we went with an in stock vinyl option from Lowe’s. Although we were working with a 15 foot long sheet, it was surprisingly easy to install and was finished quickly thanks to my brother Paul.


We finished up a few more things today and did a quick trip to our favourite antique store Antiques on 11 but I’ll save all of those details for Instagram and the blog post next week!
Please take a look at other Featured Designers and Guest Participants over the weekend if you can - there is so much talent! My early favourites include: Alissa Bovino of “A Glass of Bovino” and Lauren L Caron of “Studio Laloc”.
Carley