DIY: Hannah's Play Kitchen
/My best friend Sandra and I have known each other since we were about 14. We met at a grade 8 school party just before summer and then by chance landed the same summer job at the same place. We worked together each summer and went to highschool together throughout the year and even though we ended up at opposite ends of the country during university, she in Whistler British Columbia and I in Charlottetown Prince Edward Island, it was one of those friendships that always picked right up where it left off even with only a few phone calls or emails in between.
Now we both have the absolute privilege of raising our children together in our hometown of Orillia, Sandra with Hannah and I with Matthew and Lily, along with my brother Paul and his fiance Kristy with my niece Audrey and nephew Clark.
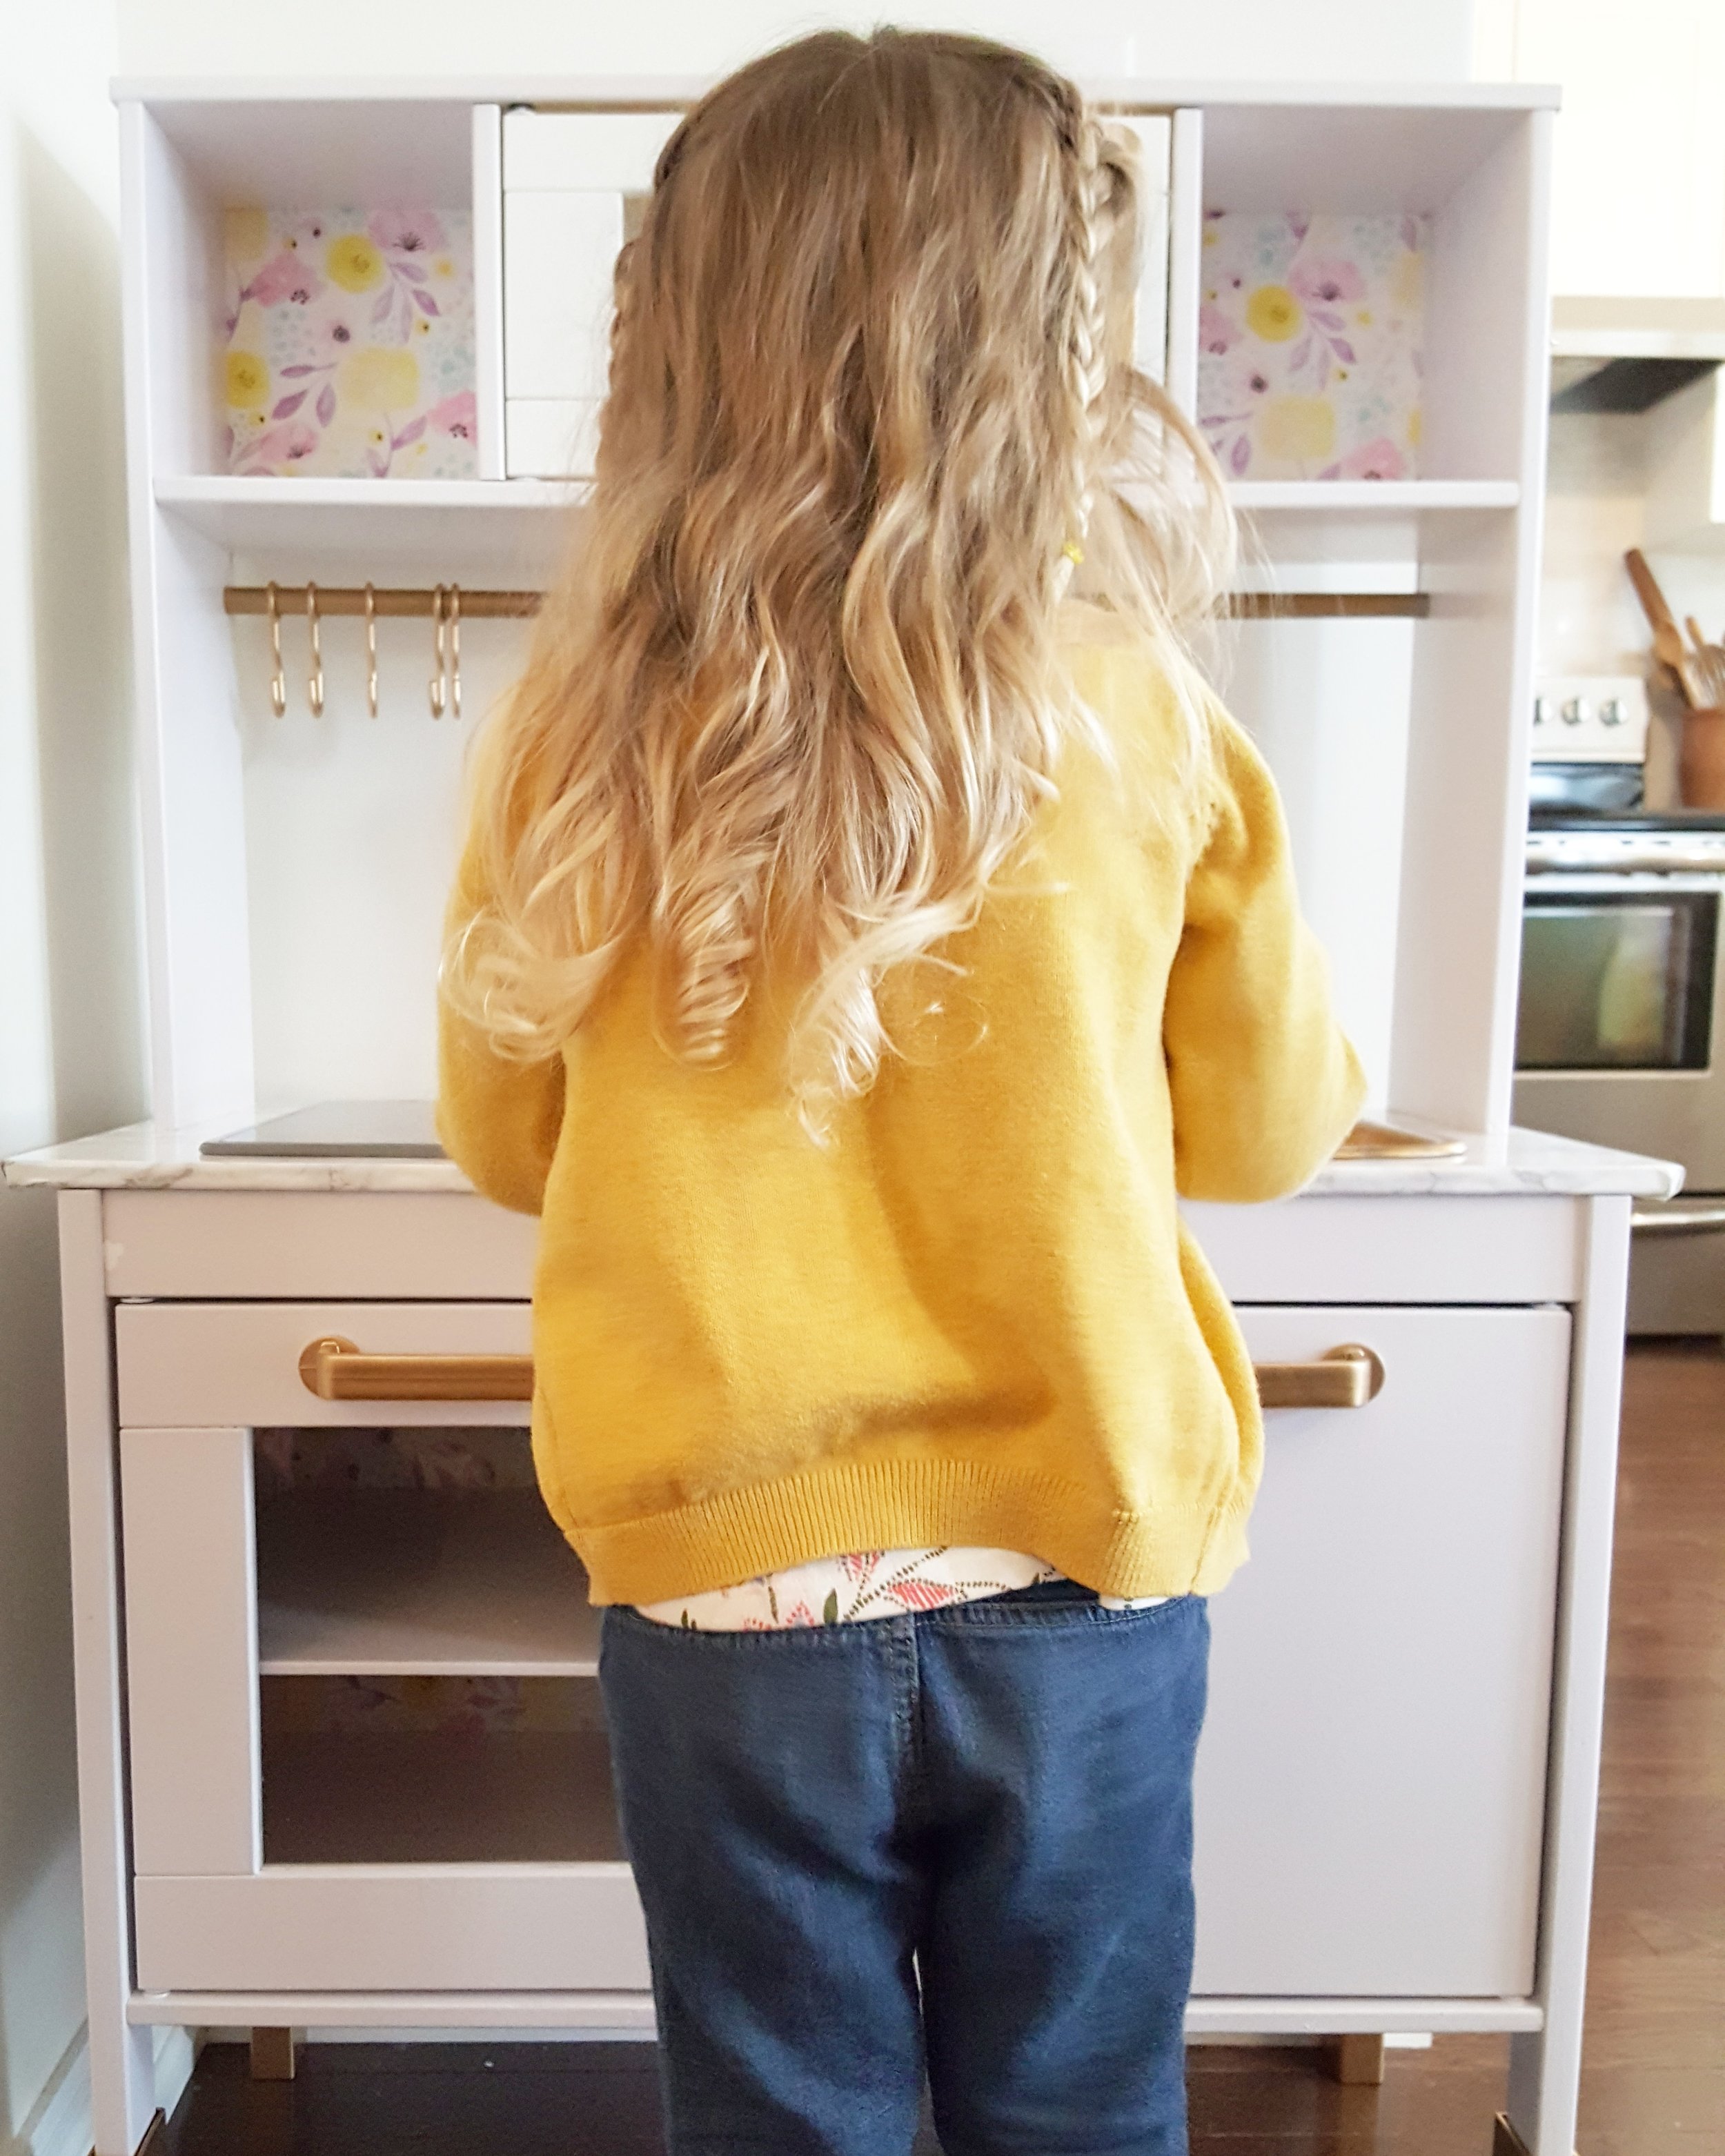
For all five children, Matthew and Lily’s play kitchen in our family room continues to be the toy of choice. Each time Hannah comes over she asks “Can I go downstairs to play with the kitchen?” no more than five minutes after coming inside. Sandra and I knew that a kitchen for Hannah was a must-have for an upcoming birthday or Christmas or even Easter. We finally made Easter happen this year after several months on procrastination (on my part).
IKEA Play Kitchen
We searched high and low for play kitchens and quickly learned that they were incredibly expensive! Enter IKEA and their DUKTIG play kitchen. At just $99.00 we knew that with a little DIY customization this could be the kitchen of Hannah’s (and our) dreams.
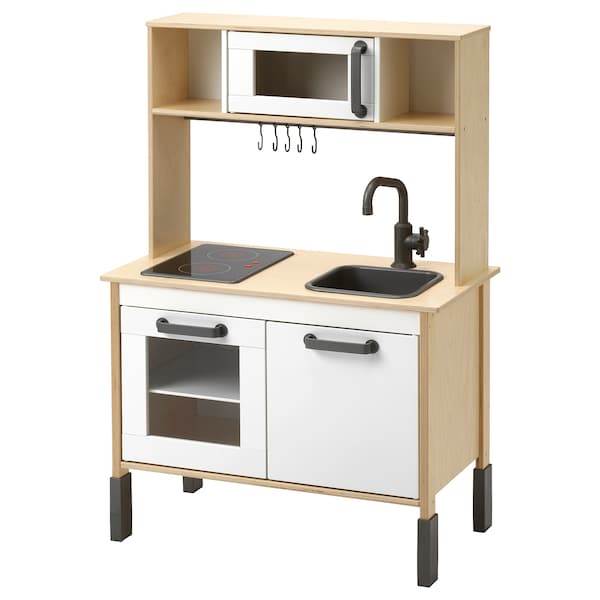
IKEA’s DUKTIG play kitchen
Design Direction
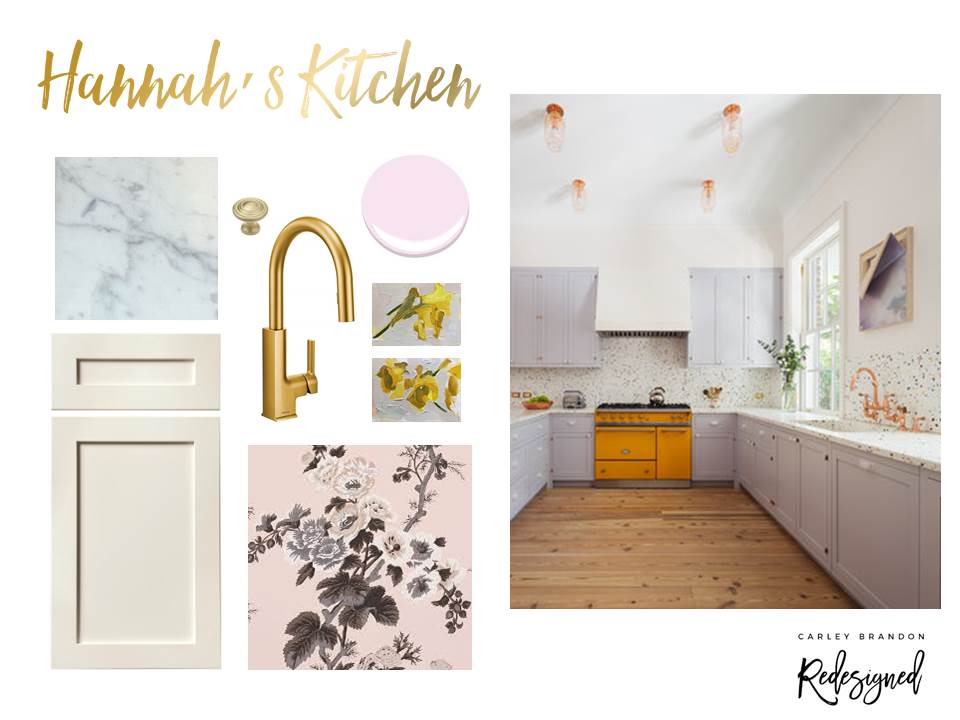
So here’s the thing … I love white. I also love a good pop of colour. I’ve always wanted to do something completely different in a kitchen like soft yellow or mauve cabinetry, but for my own kitchen I will always choose white. Hannah’s kitchen provided the perfect opportunity to experiment with colour on a much smaller and safer scale so I went for it!
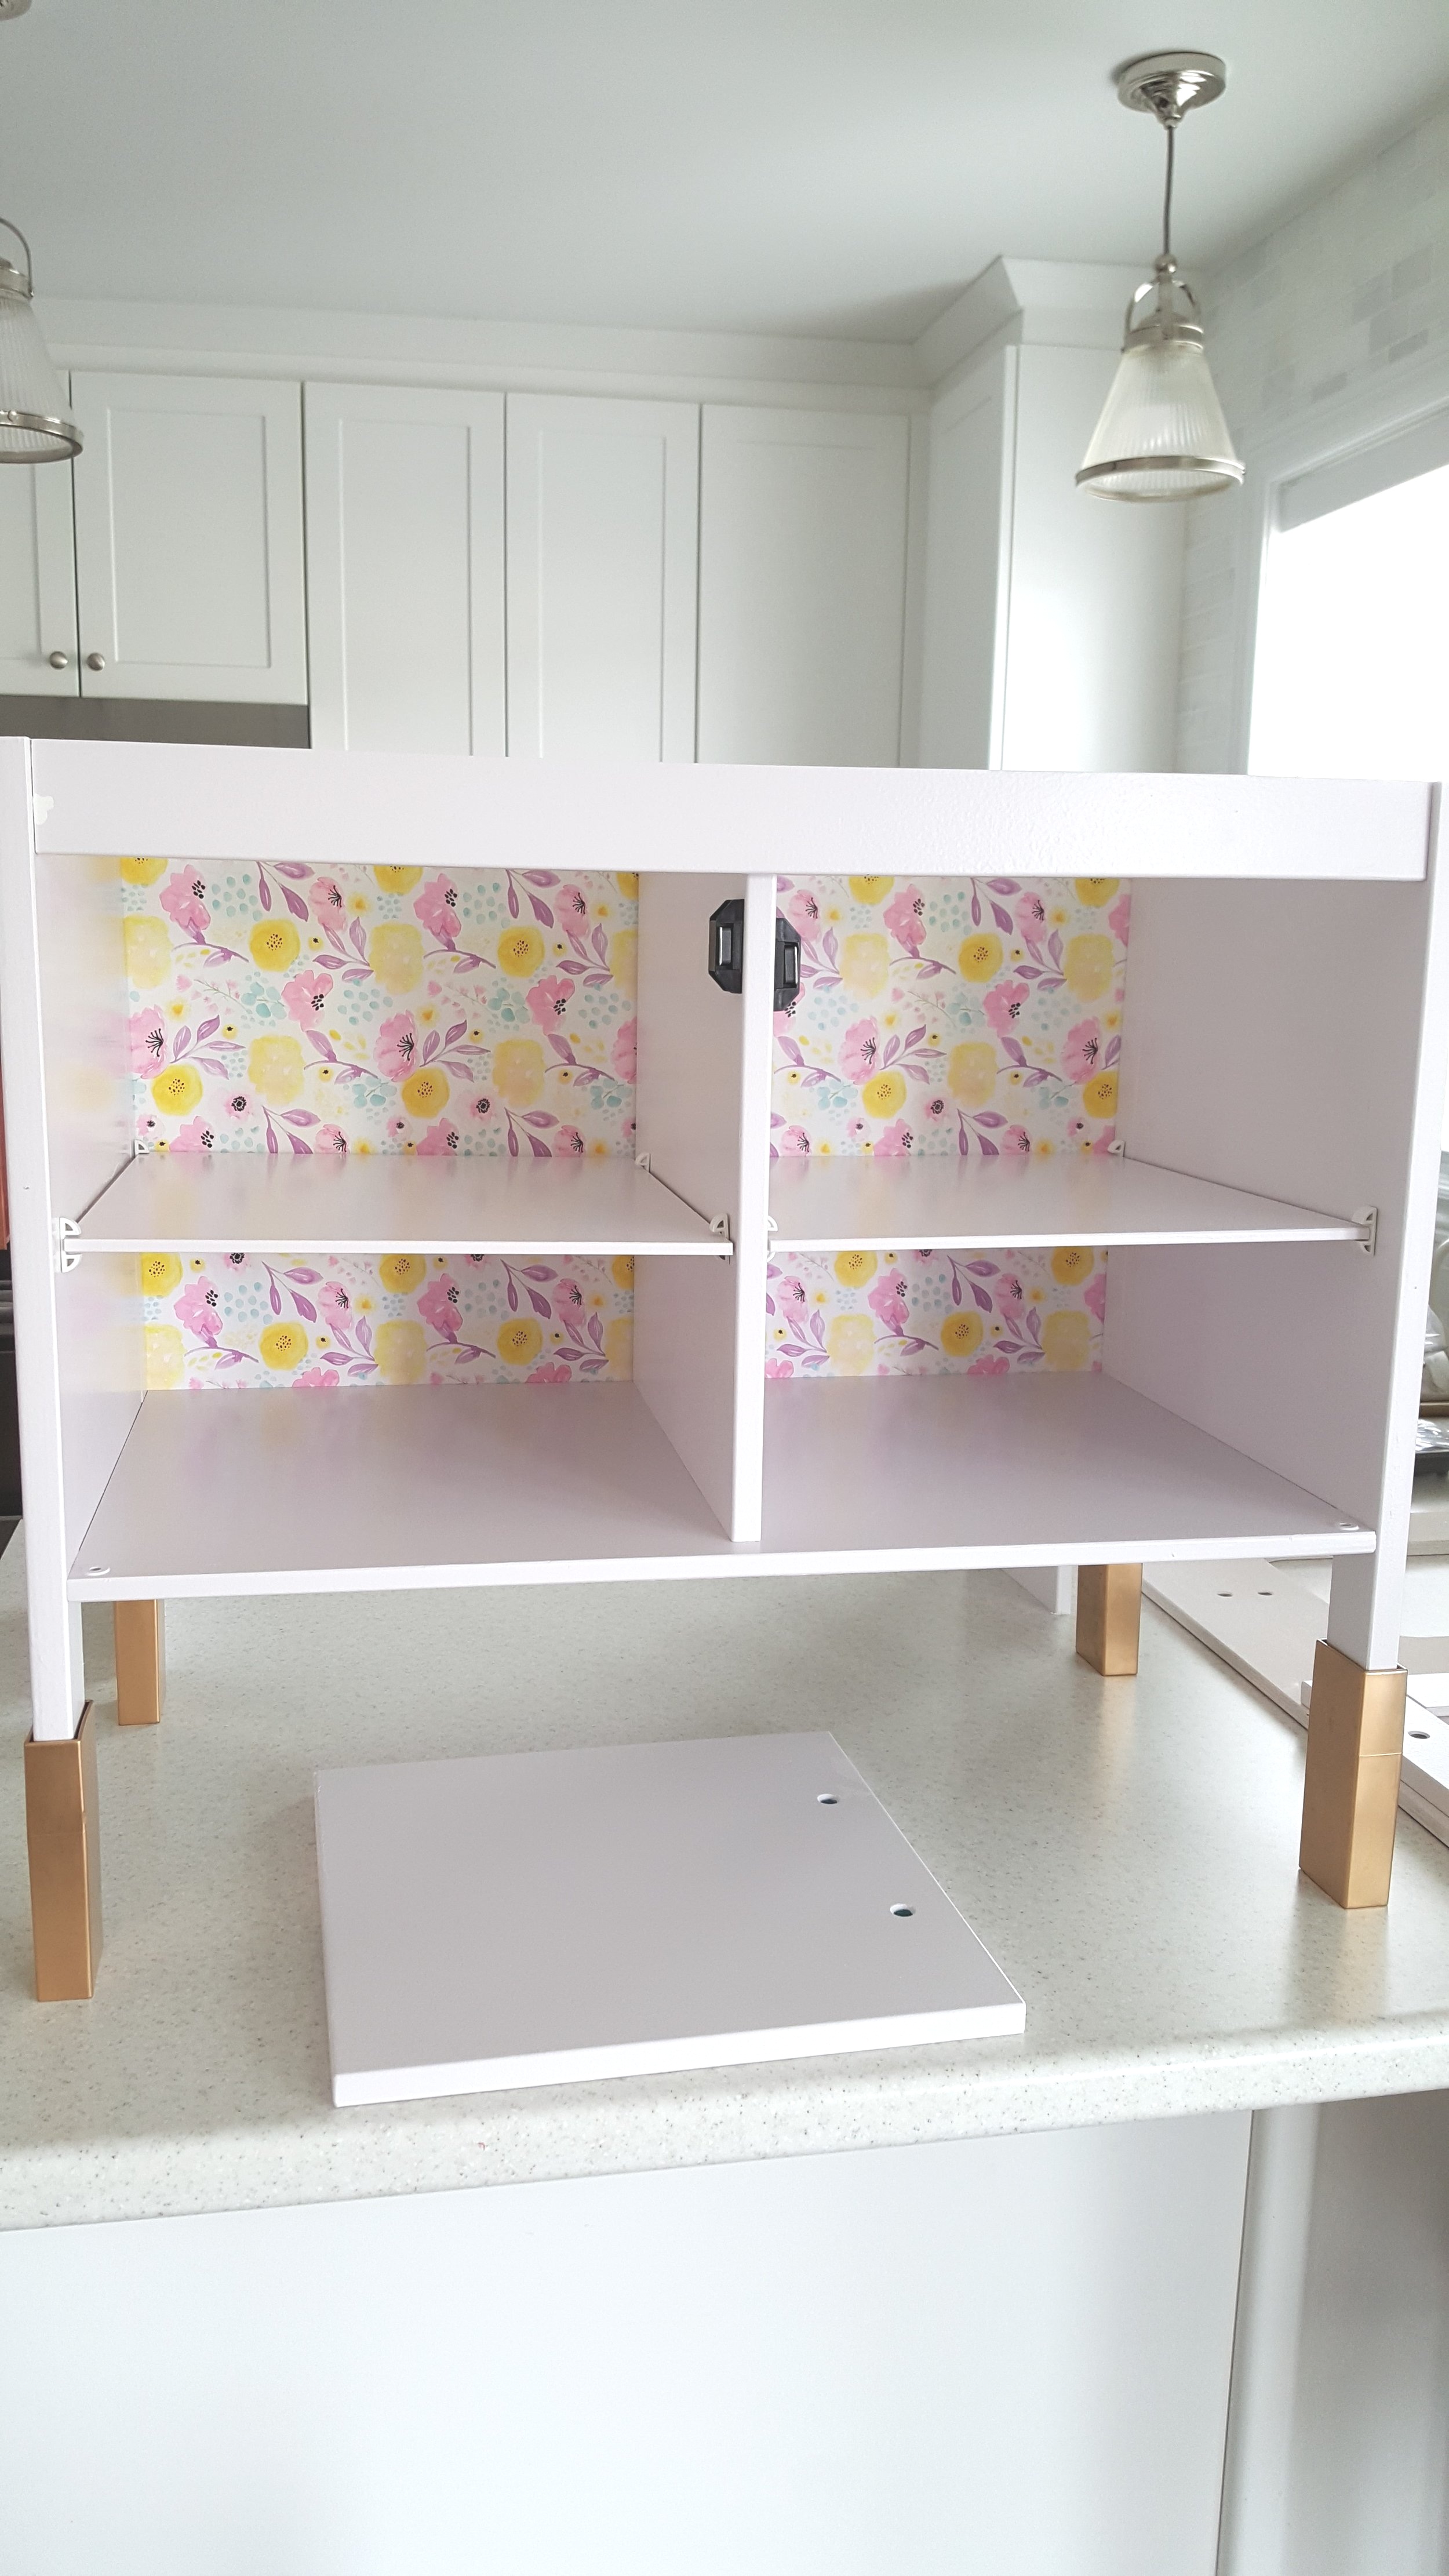
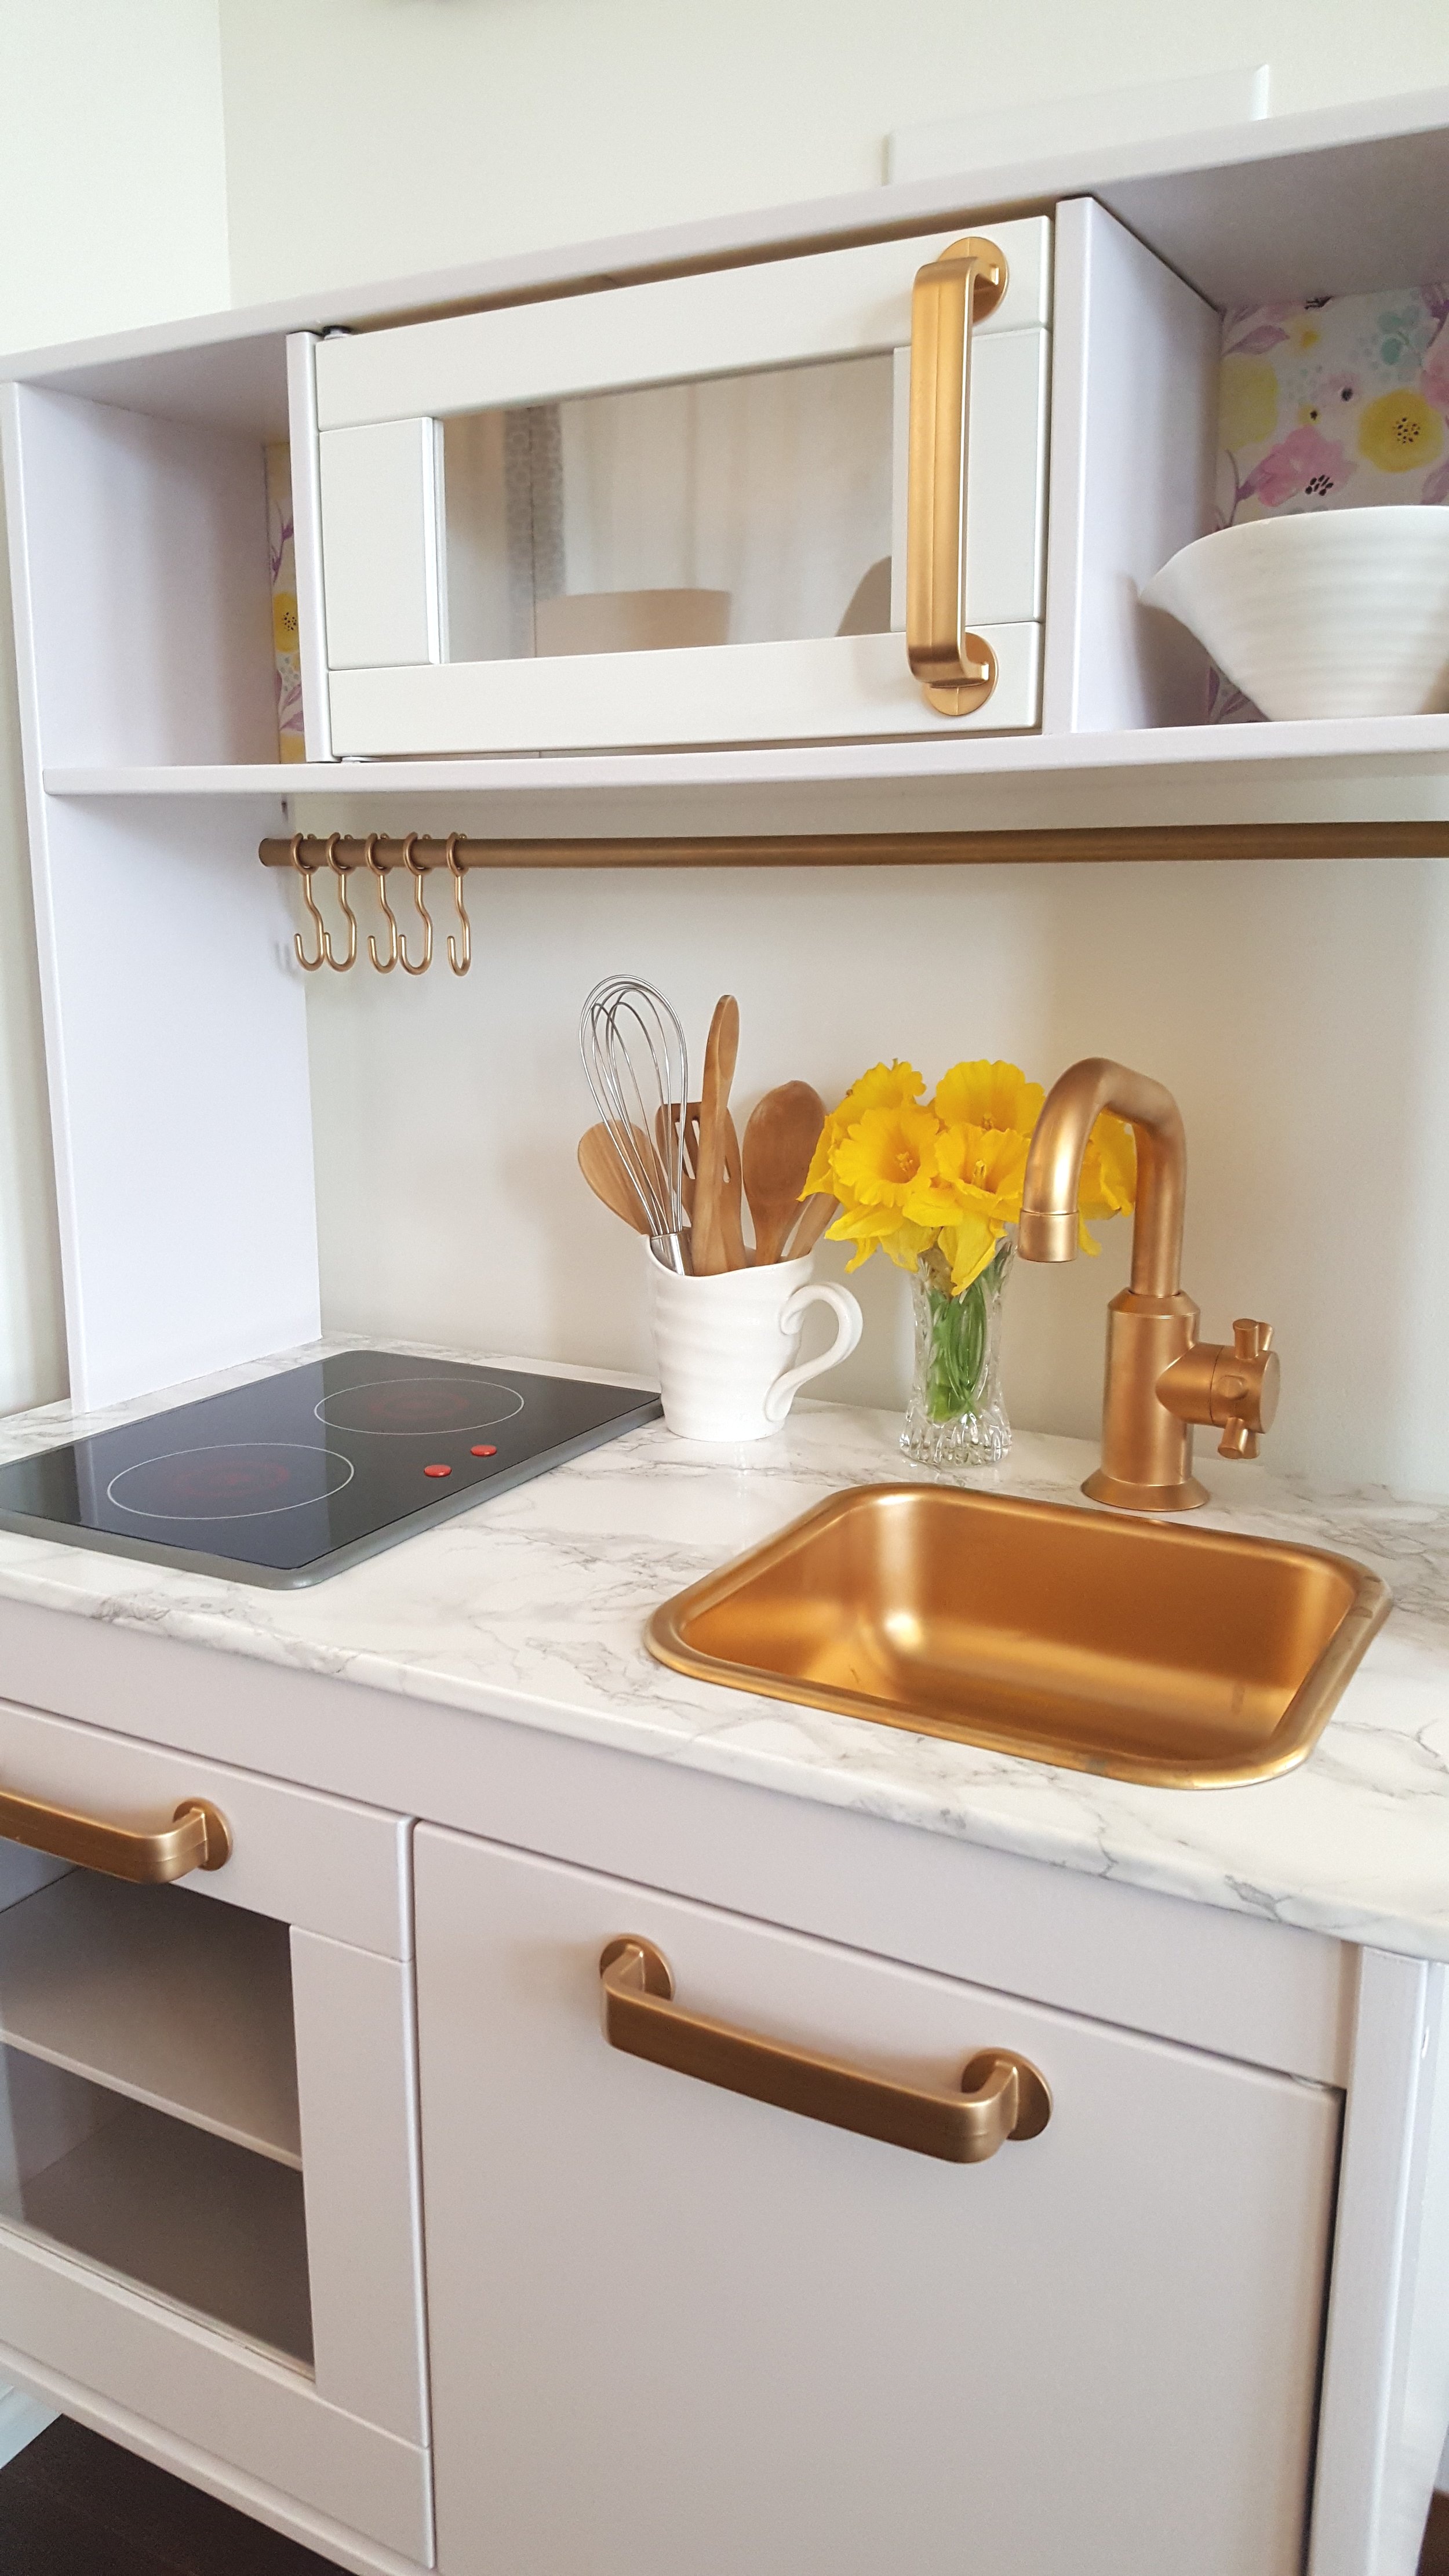
I bought a quart of paint in a Sarah Richardson mauve colour called “Gown” a while ago and right around the time when I was struck with a little motivation to get this project off the ground, I saw a bold kitchen in House Beautiful magazine designed by Penelope August that pulled all of the ideas that were swirling around in my head together beautifully. Our plan included mauve cabinetry, brass hardware, a marble countertop, floral wallpaper and a hit of yellow.

Here is the supply list for this project:
1 IKEA DUKDIG play kitchen
1 quart of paint (I used Home Hardware’s Cabinet & Furniture paint) in “Gown” by Sarah Richardson
sandpaper (for in between coats of paint)
wrapping paper or wallpaper remnant
spray adhesive (for adhering the wallpaper to the back panel of the kitchen)
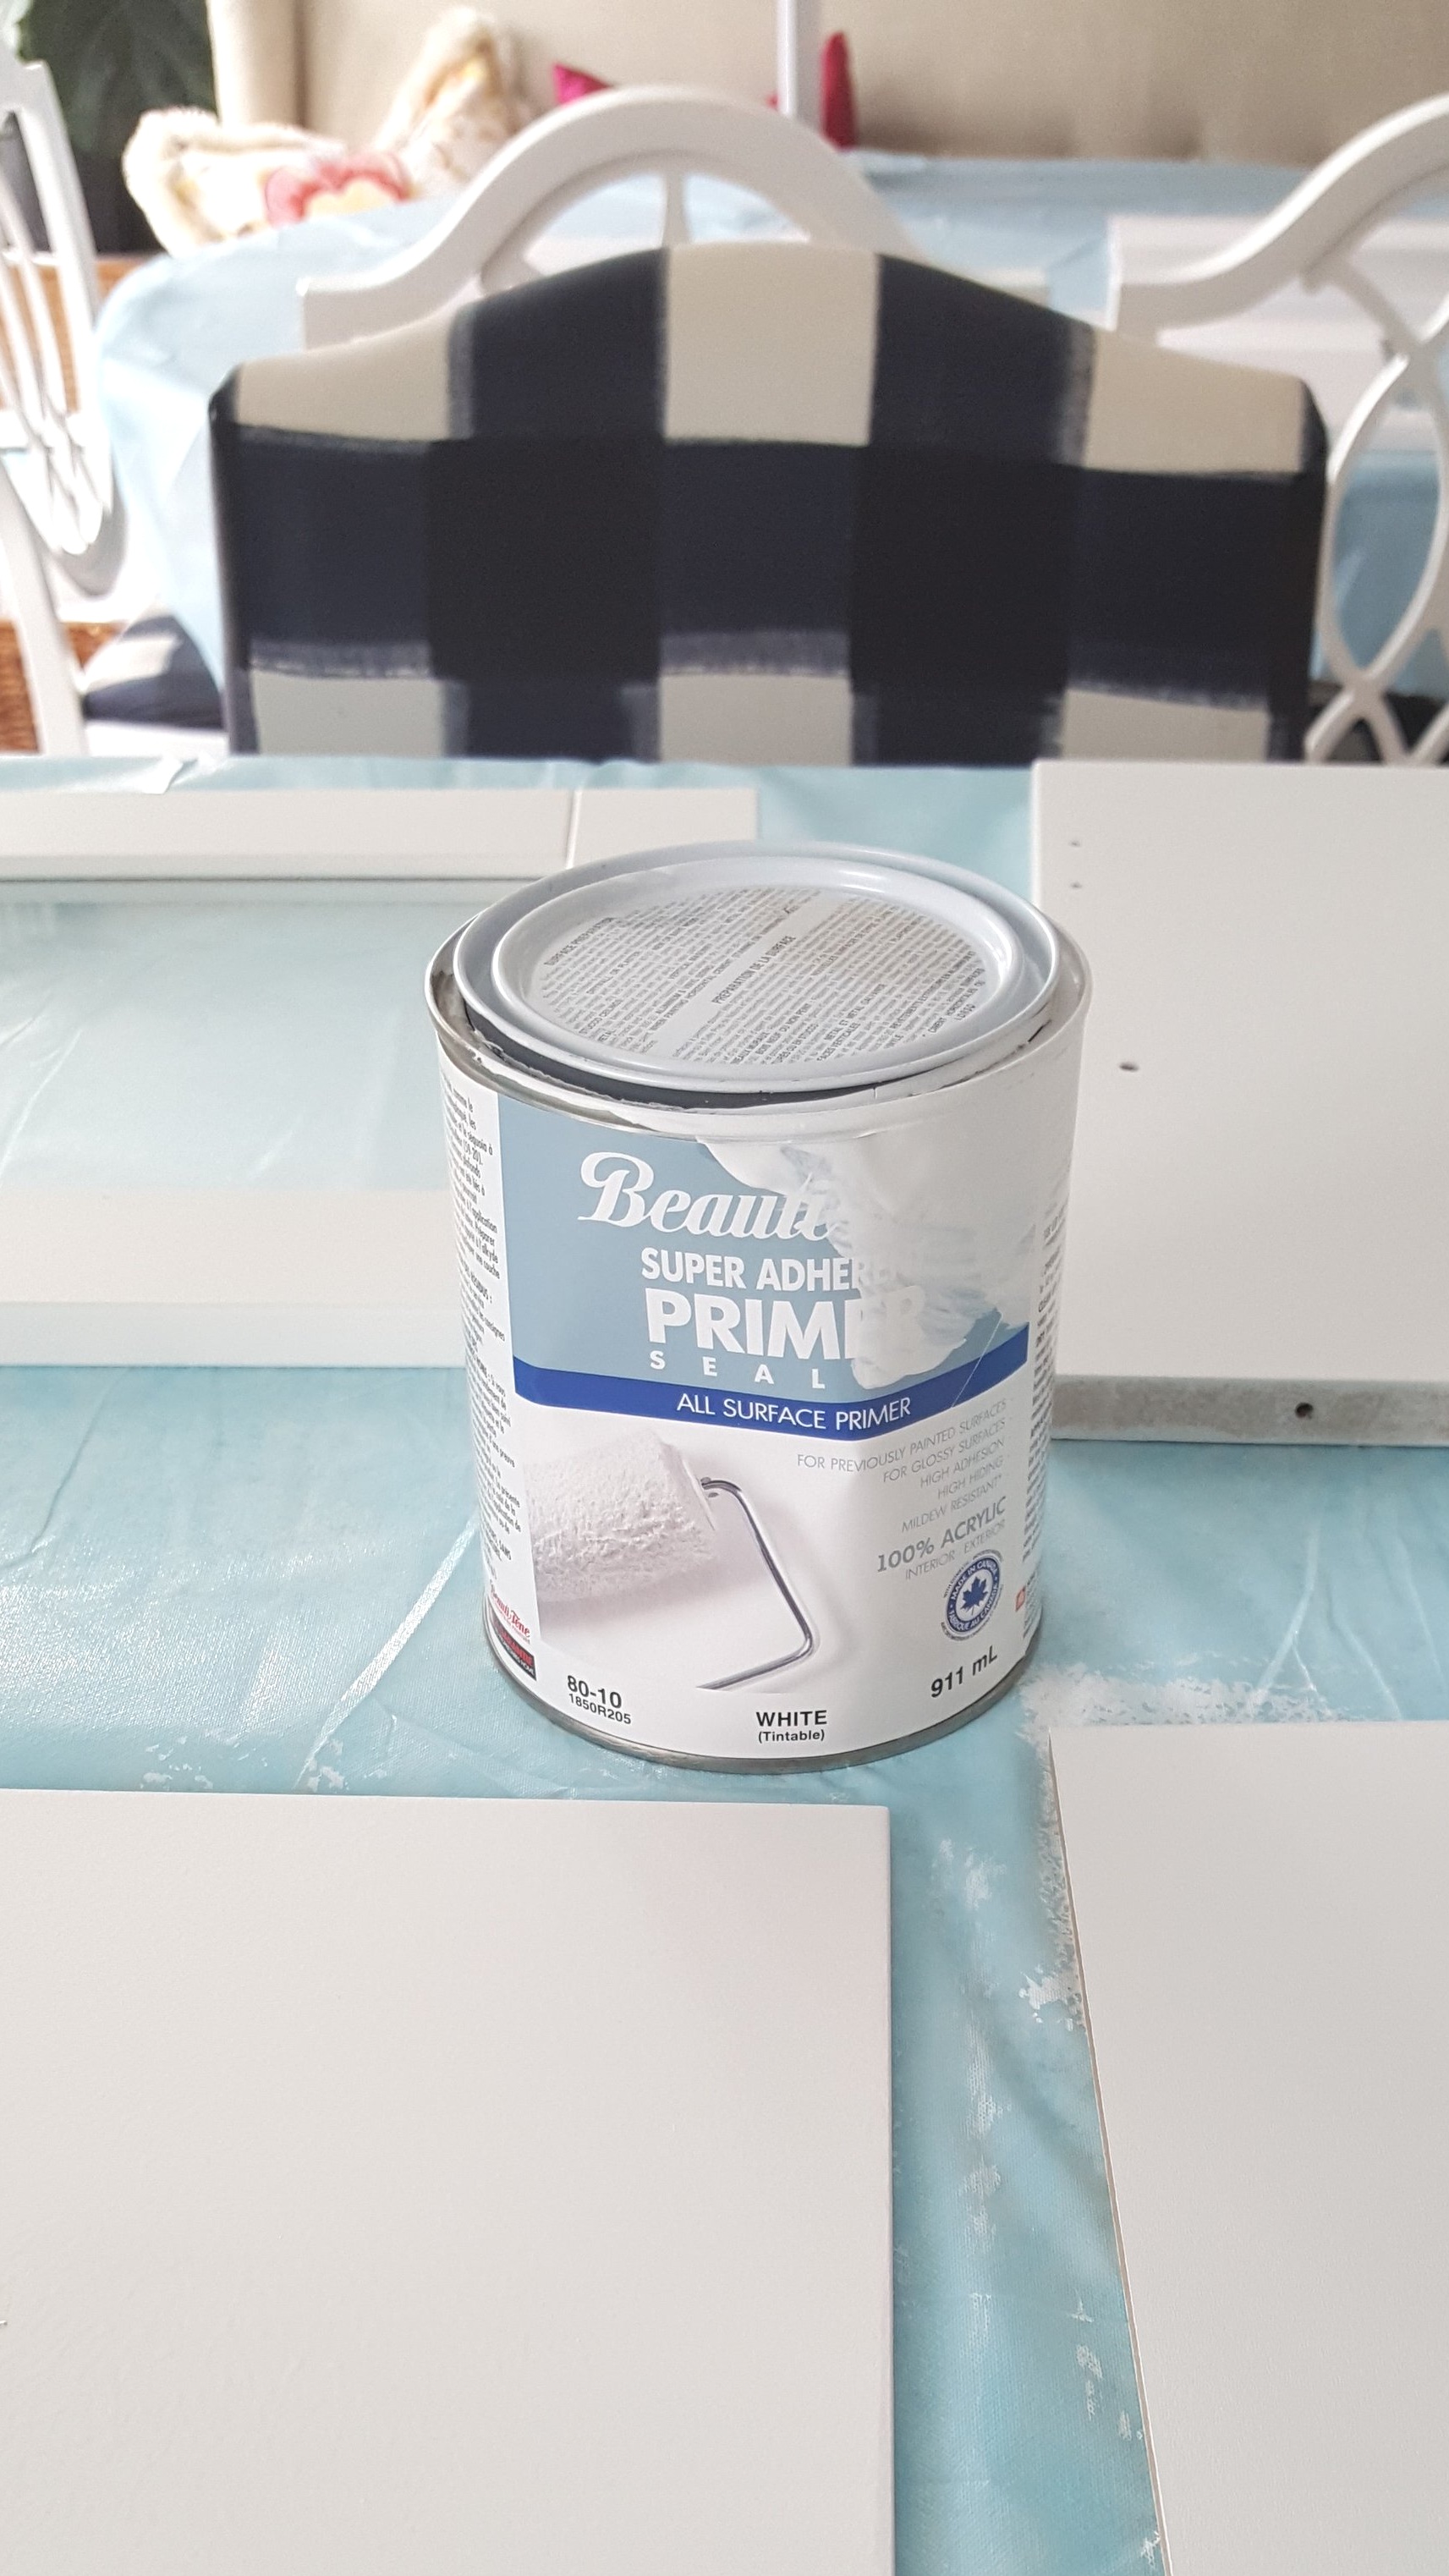
Priming the cabinets


Painting the cabinets in “Gown” by Sarah Richardson Design

Spraying the hardware with gold spray paint

Spraying the sink gold

Countertop time!
After painting all of the wood pieces in the soft mauve colour, spraying all of the plastic hardware pieces gold and adhering the marble contact paper to the counter we assembled the kitchen easily, accessorized and surprised Hannah with the reveal!


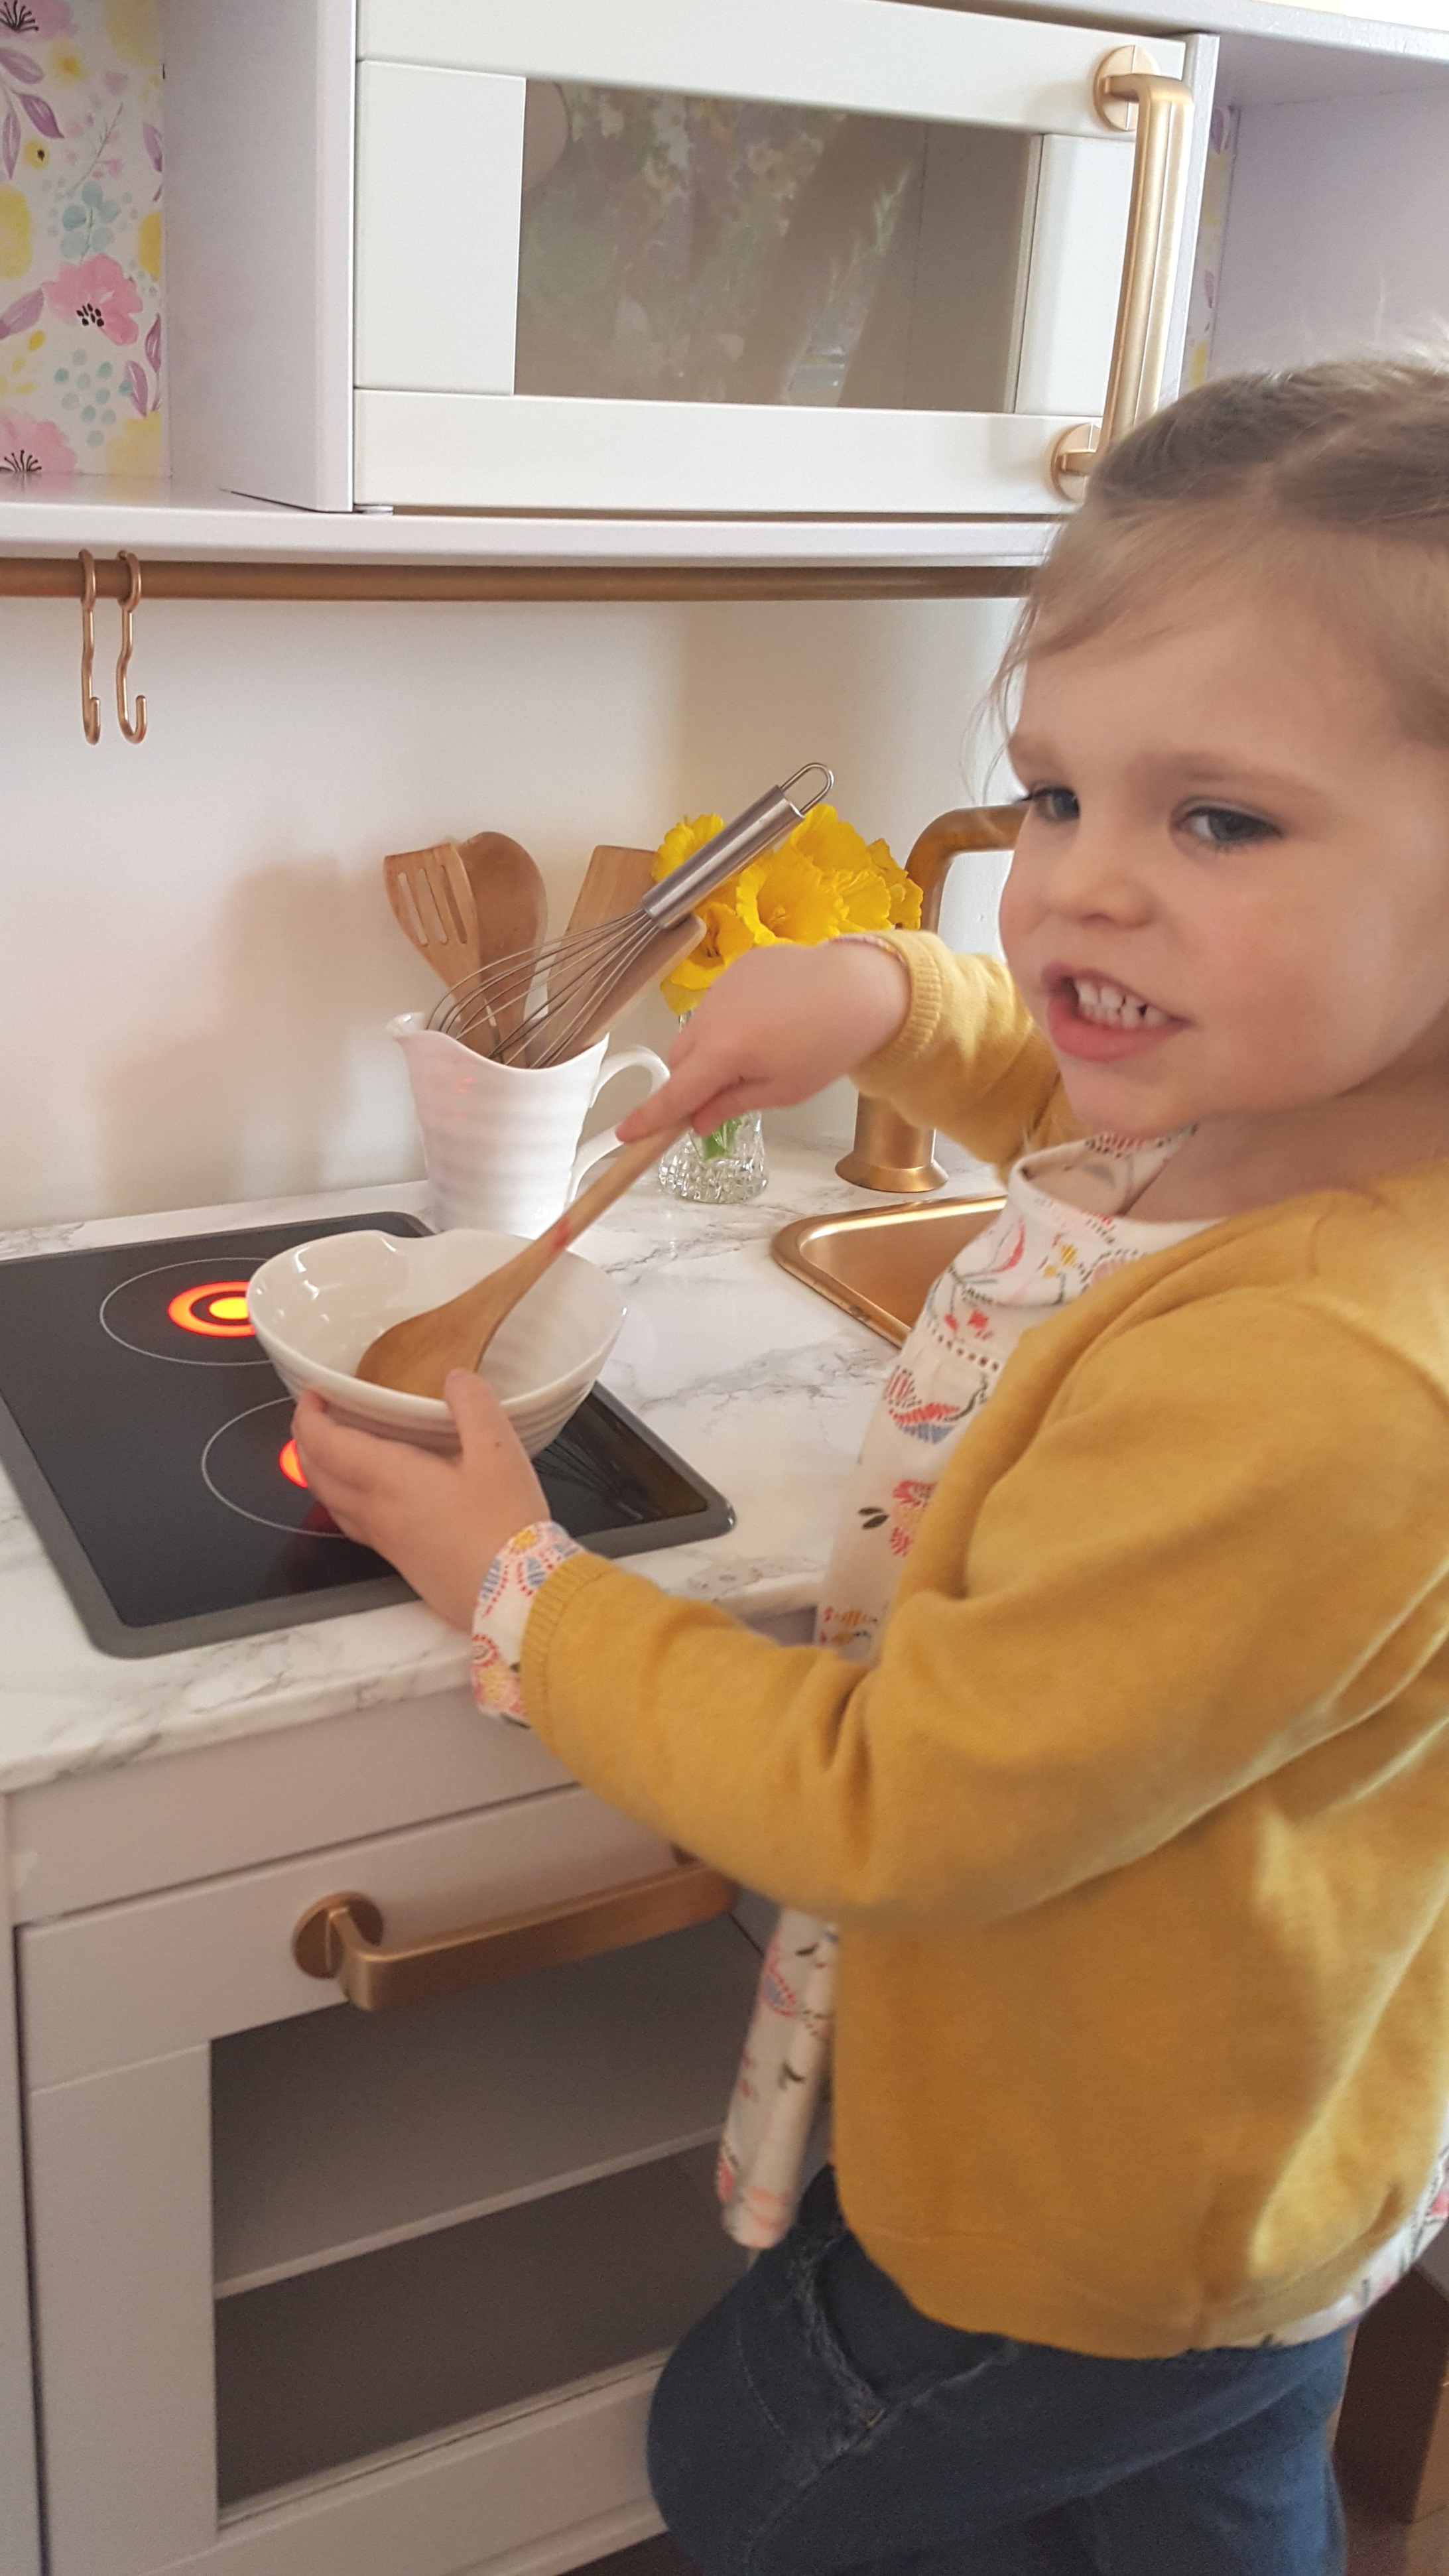
Hannah absolutely loves her kitchen and Sandra and I were so happy to finally check this project off the list!
Carley