DIY: Clay Leaf Trinket Holders
/Remember when you were a kid and when you got into trouble sometimes you might say "So and so told me to" and your Mom or Dad were quick to respond with a "Well if so and so told you to jump off a bridge would you do it?". Well if Jenny Komenda of Little Green Notebook, Juniper Studio and Jenny's Print Shop told me to jump off a bridge I probably would! She recently shared her Clay Leaf Card Holders tutorial that she did with her girls and I knew I had to try it with my children, Matthew and Lily.


Our DIY started on one of our walks at my parent's farm. Together with the help of our wheaten terrier Mr. Finnigan Flowers, Matthew, Lily and I gathered leaves from the ground. We looked for larger leaves with lots of veins including a hydrangea, Canadian wild ginger and of course the iconic Canada maple leaf.

Lily & Mr. Finnigan Flowers at our family farm
Shortly after we gathered the leaves it started to rain which was kind of perfect as this is a great project for rainy days. We all picked our favourite leaves - Lily chose the ginger, Matthew chose the maple and I chose the hydrangea.
Here are the other materials you will need:
- air dry clay
- small plastic craft roller & cutter
- small bowls (we put the leaves in bowls to dry so they would have an organic shape but you can lay them flat as well)

Step 1: Matthew rolling out his clay

Step 2: Lily rolled her leaf into the clay

Step 3: Matthew trimming excess clay from his maple leaf

Trimming clay from the hydrangea leaf
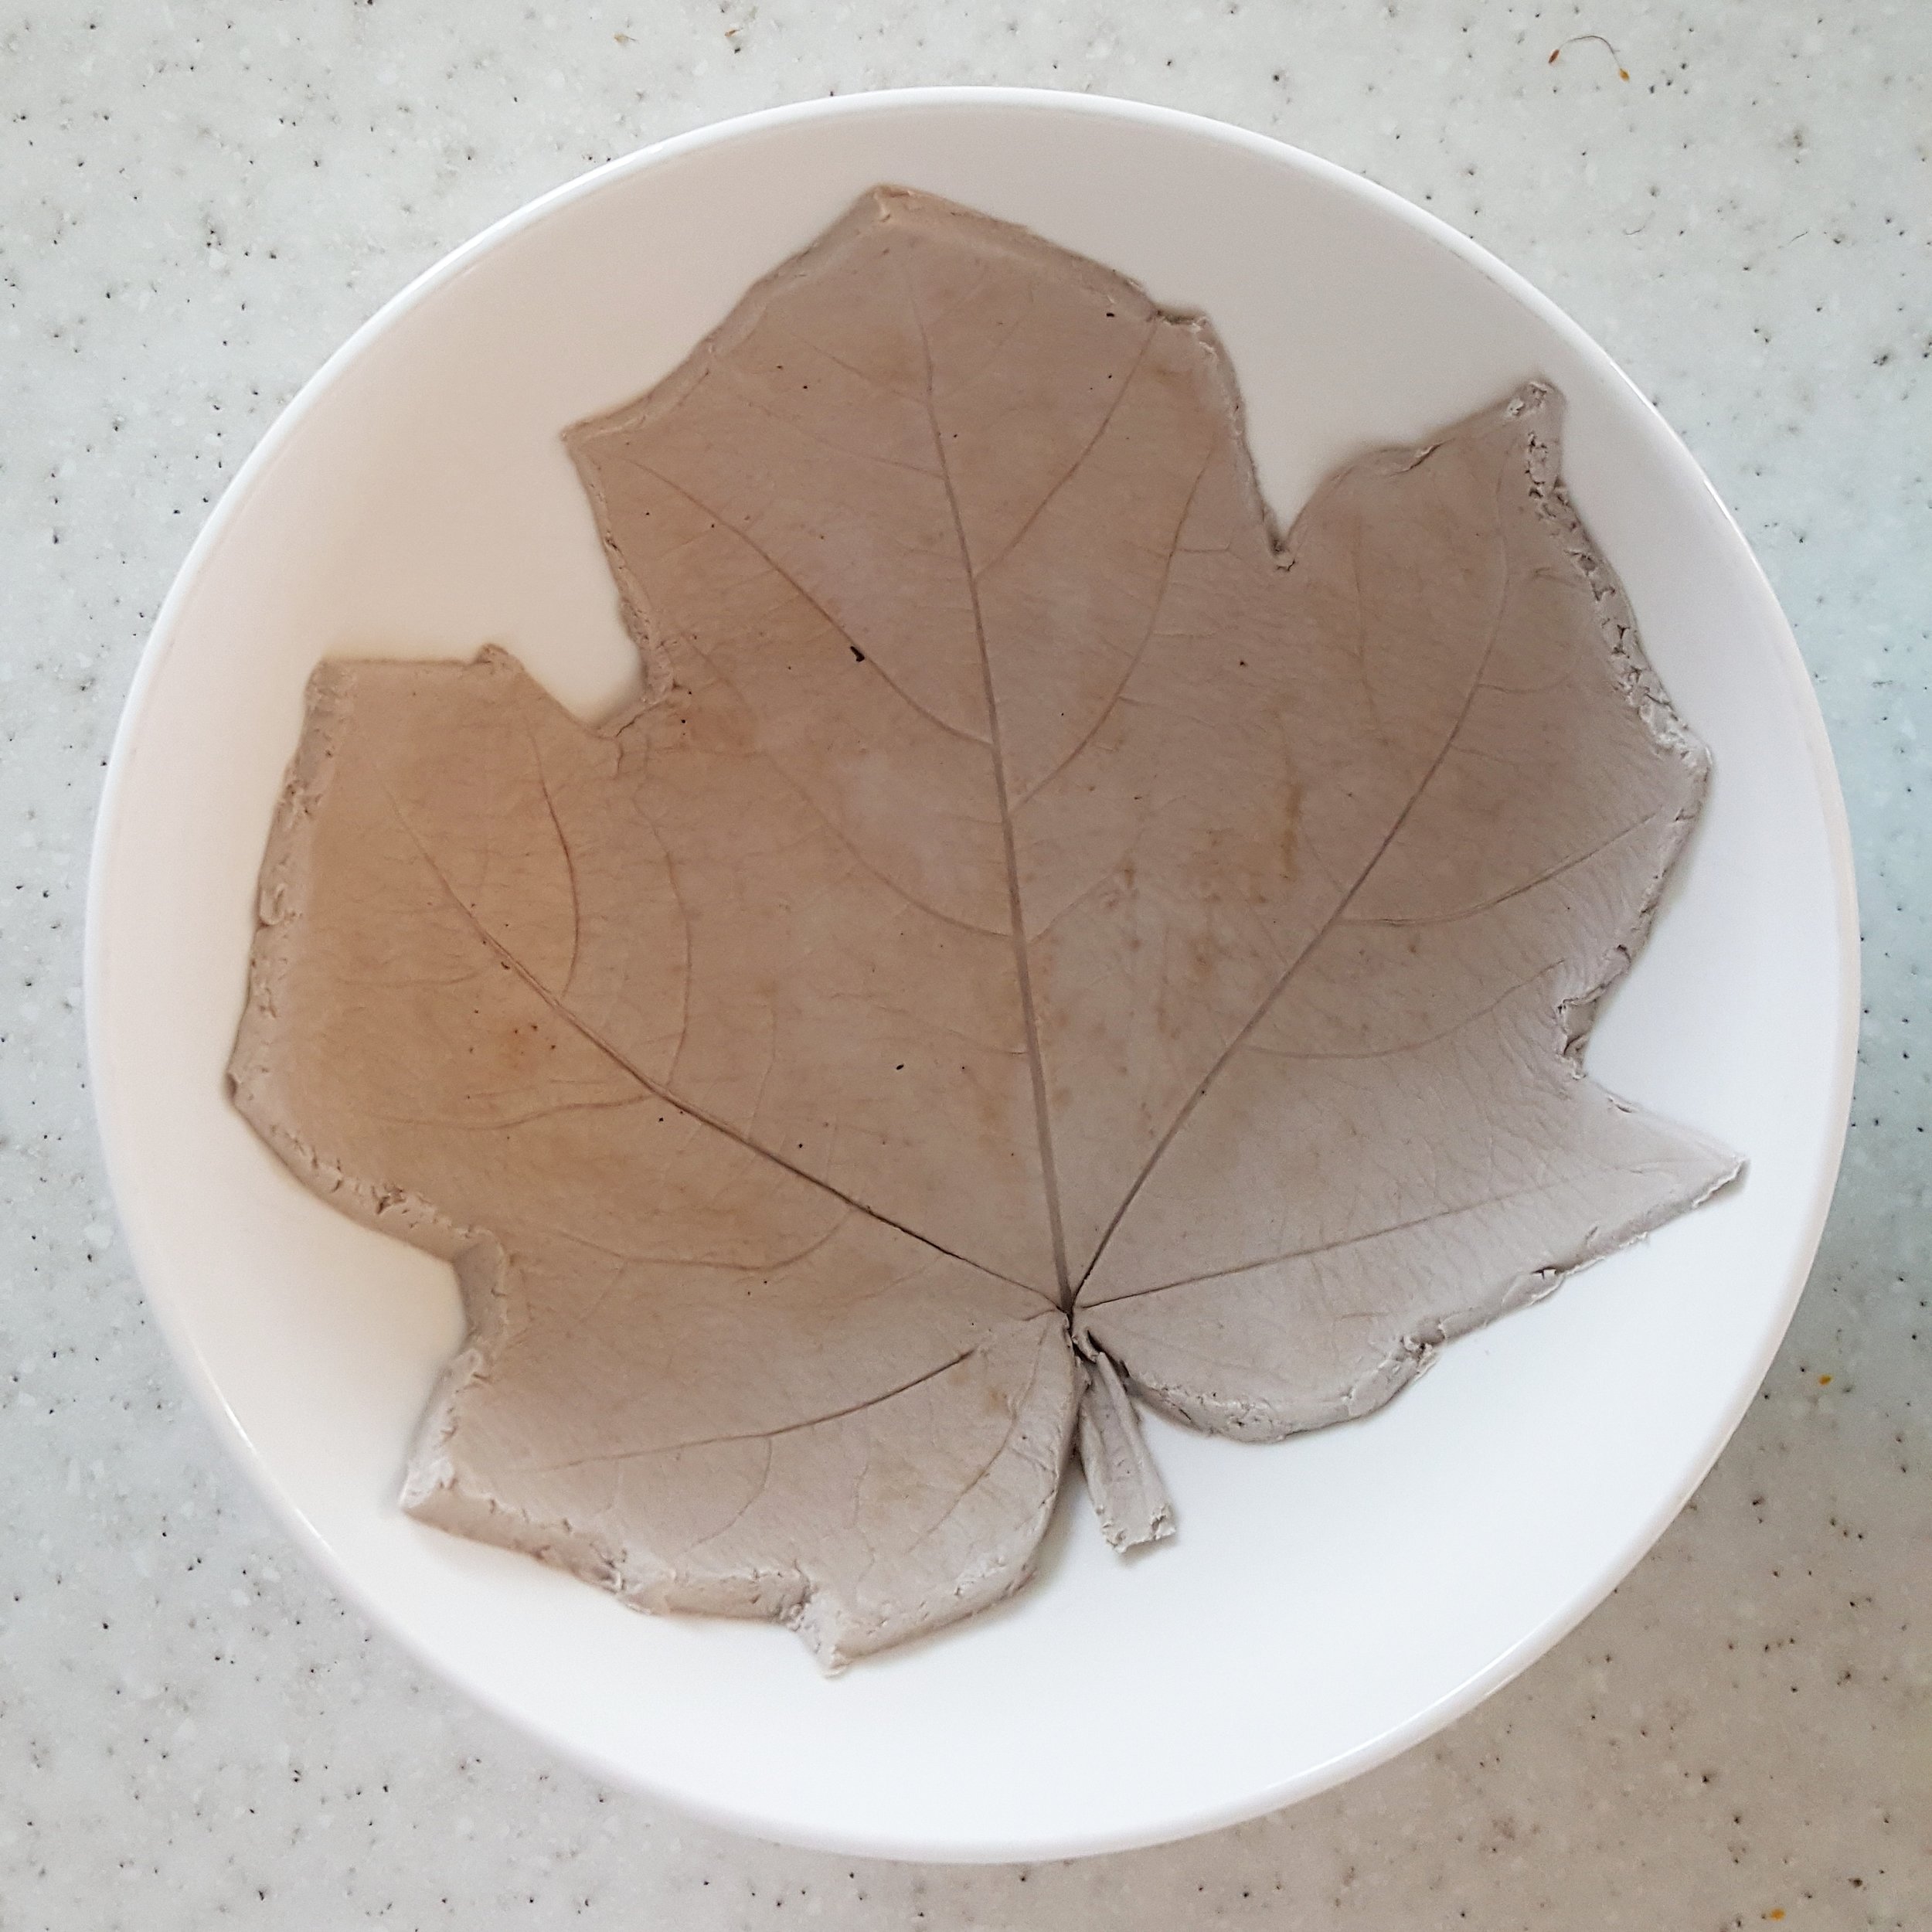
Step 4: Matthew's maple leaf drying in a bowl

Matthew's finished maple leaf
The process was really easy and took less than 24 hours to complete - a great weekend project. We were also working on an IKEA play kitchen hack (I promise I will blog about it the next few weeks) using gold spray paint and Lily had the idea to make her leaves extra "fancy" by painting them. We used our favourite Design Master paint from Michael's in the 24KT Pure Gold.

Step 5: Paint


These little trinket holders will be featured in my One Room Challenge reveal on this blog this week! I asked Lily if I could borrow hers for my photo shoot :)
- Carley